FREE Star Wars Inspired BB-8 Crochet Toque Pattern
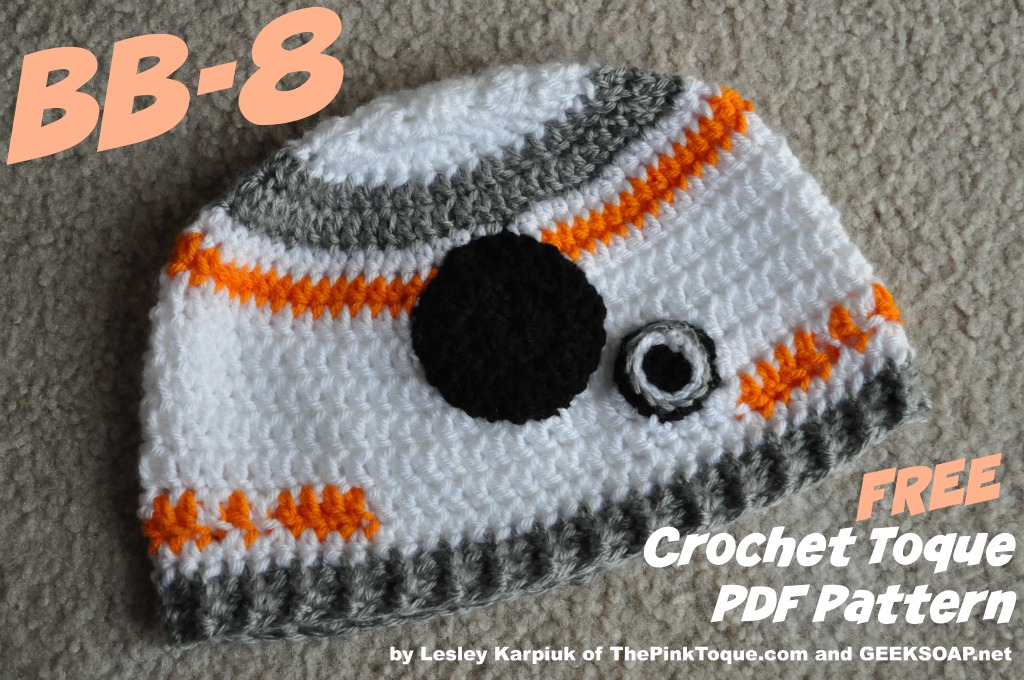 Have you seen The Force Awakens yet?! Unquestionably one of the most iconic characters from the newest movie in the Star Wars franchise is a spherical astromech droid named BB-8. He’s totally adorable, and I decided to turn his likeness into a winter hat, or toque. (The shape is perfect, right?) Three drafts and a whole day of crocheting later, I had something that fit well and looked fabulous. So here it is, my free Star Wars BB-8 inspired pattern!
The pattern is pretty simple, but one round does require you to make color changes mid-row while carrying the yarn along. I included several photos and links to video tutorials if needed to explain and demonstrate this process very thoroughly. You should also know how to do front post half double crochet and back post half double crochet stitches, which create the ribbed brim.
Head on over to Ravelry to snag my FREE BB-8 Crochet Toque Pattern. Please note that the pattern is provided free for personal use and should not be copied or redistributed. Have fun making hats!
May the Force be with you and may this toque keep you warm while you’re standing in line waiting to get in to The Force Awakens! Let me know if you have any questions. Enjoy!
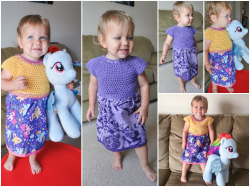
Sew Sweet Crochet Fabric Toddler Dress – FREE PATTERN!
 I laughed when I saw that my most recent post before this one was the baby blanket I was making just before my daughter was born and now I’m updating to share a new free pattern I’ve put together of the toddler dress I just made for her… let’s just say 18 months between posts is a long time! Don’t worry, I’ve still been crafting away all this time, I just haven’t documented it really well. I’m always very busy with my small business, GEEKSOAP, which hit its 5 year anniversary back in February (YAY!) and have made several new designs over there for you to check out.
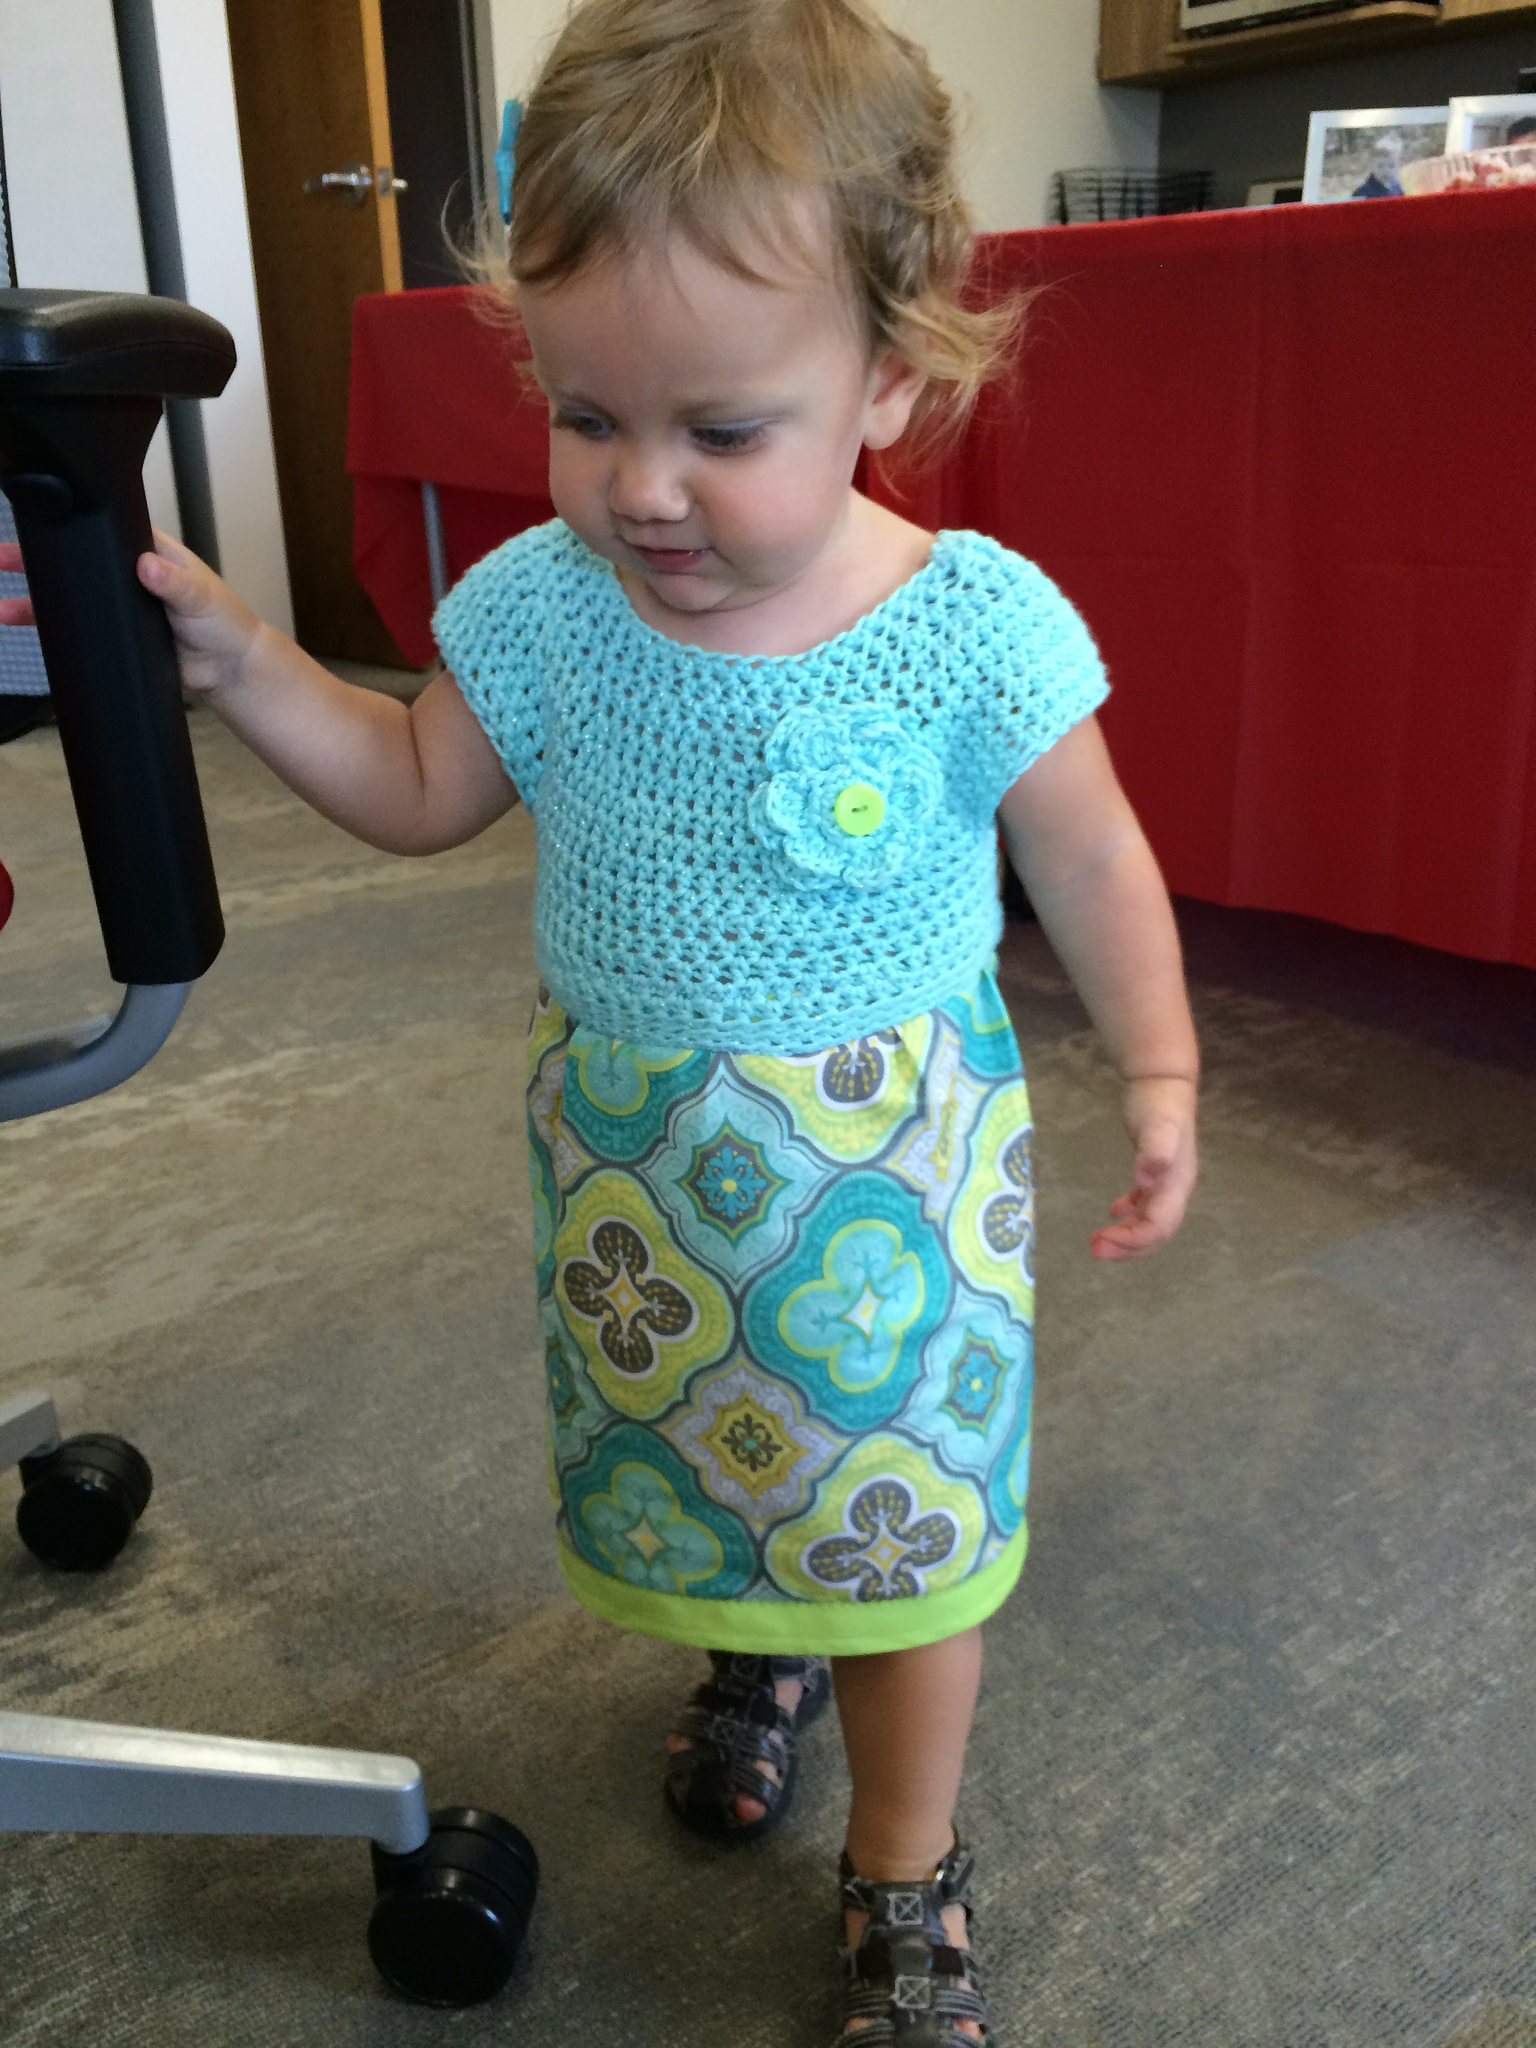
Recently on a 3-hour road trip, I got the itch to knit or crochet something and decided I wanted to make a dress for my now-17-month-old daughter. Back before she was born, I had purchased a newborn pattern that was a crochet top with fabric skirt combined, and I loved the idea. (My sewing machine was collecting dust – I missed it!) but when I looked at the pattern again a few weeks ago, I found that it was only written in a newborn size with no real “recipe” that I felt comfortable modifying to fit my daughter now. It was also very heavy with a lot of puffy crochet stitches, meant for cooler weather, which just wouldn’t work in July! I started researching free crochet dress patterns online to figure out a method for making just a collar or bodice that could be adapted for different sizes. After I made a top that fit, I was hooked! (haha.) I tried again and again with different hooks and things like holding multiple strands together for different effect, and finally loved the end result. After making my first dress – which had a bit of an empire waist – I made some adjustments to have a bit more length. And then I couldn’t stop making dresses…
 I had a lot of people ask me how I did it, so I just threw together all of my notes and tried to create a pattern for others to follow if they also want to make dresses for their little ones. I haven’t personally tested the larger sizes on kids, but I did include notes on suggestions where to make adaptations in order to make the crochet bodice larger for older kids. I would imagine that changing the yarn and hook size could also help you make a smaller size if you wanted, too. You could also adapt the pattern to start with 2 less stitches and adjust the rest of the numbers in the other rounds accordingly to go smaller.
As for the skirt – the pattern includes all of the notes and dimensions I used for making the skirts for my dresses, which includes notes to help you decide what dimensions you need to use when making yours. I’m no seamstress, though, so this isn’t fancy stuff. I just sort of “winged it” from doing past sewing projects and it all worked out just fine!
The pattern is now over on Ravelry as a free download – be sure to grab a copy and give it a try! And if you try some of the larger size adaptations, let me know how it goes. Also don’t hesitate to ask if you have any questions! Hope you enjoy. :)
Pattern specifications:
Materials Needed
• Size I crochet hook, or whatever hook to reach gauge
• Medium weight yarn, like a cotton or acrylic
• At least 1/2 yard of coordinating fabric
• Coordinating thread
• Sewing machine
Optional
• Double folded bias tape
• Buttons
Gauge
13 sts = 4†and 9 rows = 4†in hdc
Bodice Size
This pattern is for size 2 years with a 21†chest. Pattern includes suggestions for adapting to larger sizes: 4, 6, and 8. This theory could be used to go smaller, too. (Or try a smaller hook!)
Stitches Required
Fhdc = foundation half double crochet. This creates a foundation chain and a first row of half double crochet stitches all in one.
sl st = slip stitch
ch = chain
hdc = half double crochet stitch
sc = single crochet stitch
blo = back loops only. Insert your hook into the back loop only instead of both loops of the st.
Pattern also includes 16 different variations and ideas for spicing up your dresses!
Enjoy :)
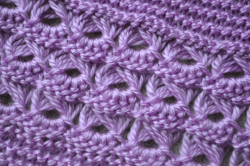
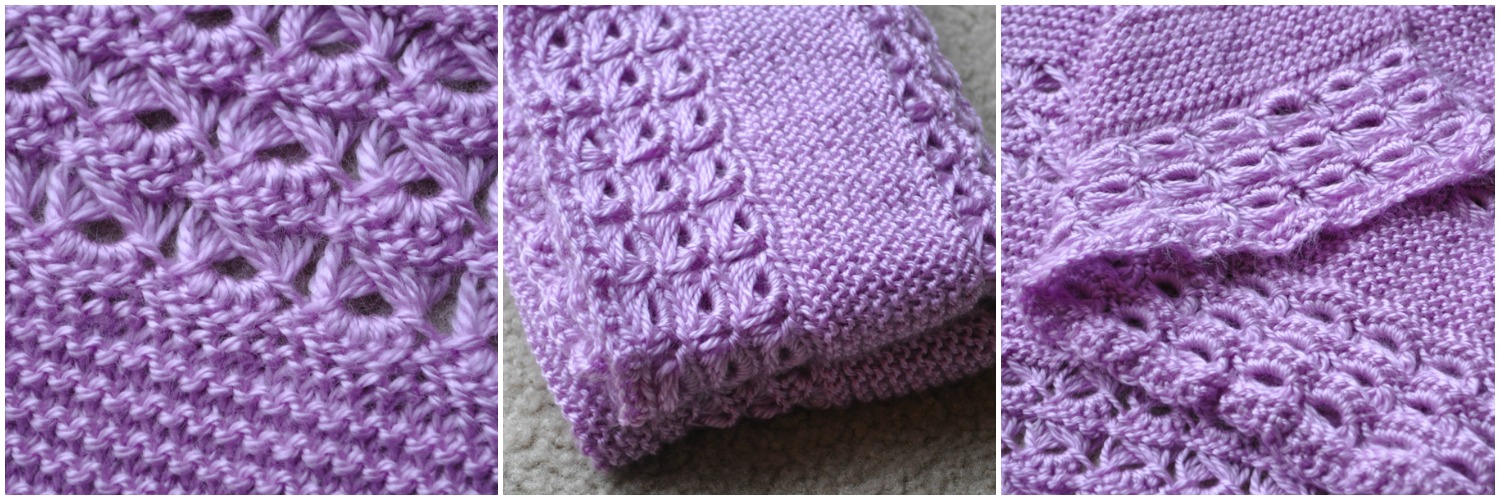
Lila: A Combination Knit & Crochet Baby Blanket – FREE Pattern!
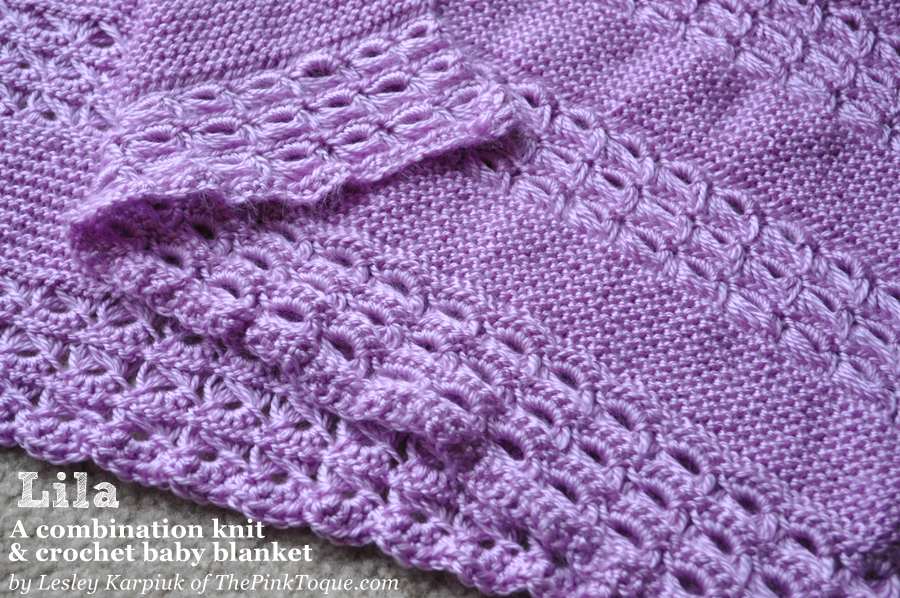 With our second baby, Lila, on the way (I can’t believe she’s due next month!) I of course had to whip up a baby blanket. I didn’t want to use the same pattern that I used for Liam just to mix things up a bit, and spent days going through patterns on Ravelry to find just the right blanket but couldn’t decide. I was torn on whether I wanted to knit or crochet; I prefer the look of knit, but crochet is so much quicker for me. What’s an indecisive pregnant mama to do?! I stumbled upon a Lion Brand pattern that both my husband and I liked the concept of, but I wasn’t super fond of the look of the particular lace it used, nor the fact that it was knit from the corner and increased from there. It got me thinking of doing something similar with alternating lace and garter panels, but with “prettier” lace. And knit flat across, back and forth, instead of increased from the corner.
I somewhat recently learned broomstick lace crochet, and I remember thinking it could easily transition to knitting needles to do a combo project, and the idea was born to make a baby blanket from alternating broomstick lace crochet and garter knit stitch panels. I couldn’t find anything like it, so I just decided to take notes and possibly write up the pattern to share later. I finished the blanket about a week before Christmas, but just got around to formatting the pattern to share publicly this weekend.
I don’t go into detail on how to do broomstick lace in the pattern, so it assumes you are familiar with the technique ahead of time. However, I did add two links in the pattern to the resources I used to teach myself:
Video Tutorial (4 mins)
And as I’ve mentioned that it’s a combination of crochet (broomstick lace) and knit (garter stitch), you need to be able to do these two different techniques to be successful with following the blanket pattern, but I promise it’s super easy otherwise. I also included a quick video clip I took of myself transferring the stitches from the knitting needles after doing a garter panel back to do another broomstick crochet panel, so I think that will help. Of course, if you have any questions, don’t hesitate to let me know either in the comments or via email.
Materials Needed for the Lila Baby Blanket
Size J crochet hook
Worsted weight yarn (I used Hobby Lobby Yarn Secret in Lilac, 2 skeins)
Size 8 knitting needles on 32″ cable (You’ll knit back and forth like on straights)
Size 35 or 50 knitting needle, or broomstick (I literally took the plastic broomstick off of my toddler’s play broom and used that!), referred to as broomstick throughout the pattern
GRAB THE PATTERN ON RAVELRY HERE!
I really love how the blanket turned out! Mine ended up being 20″ x 30″ unblocked. I really need to block it, because in my test swatch, blocking really made the broomstick lace panels pop beautifully. I’m sure I’ll get that done before Lila arrives next month, right?
Happy knit/crochet! Hope you enjoy the pattern.
Our Holiday Crafting Round Up!
 Note: This post was originally posted at our family blog, since all of our holiday crafting this year was a family affair.
It’s been a magical couple of weeks home on winter break, and we spent a lot of time crafting for various projects (both Christmas gift related and baby Lila related) and getting ready for baby Lila’s arrival next month.
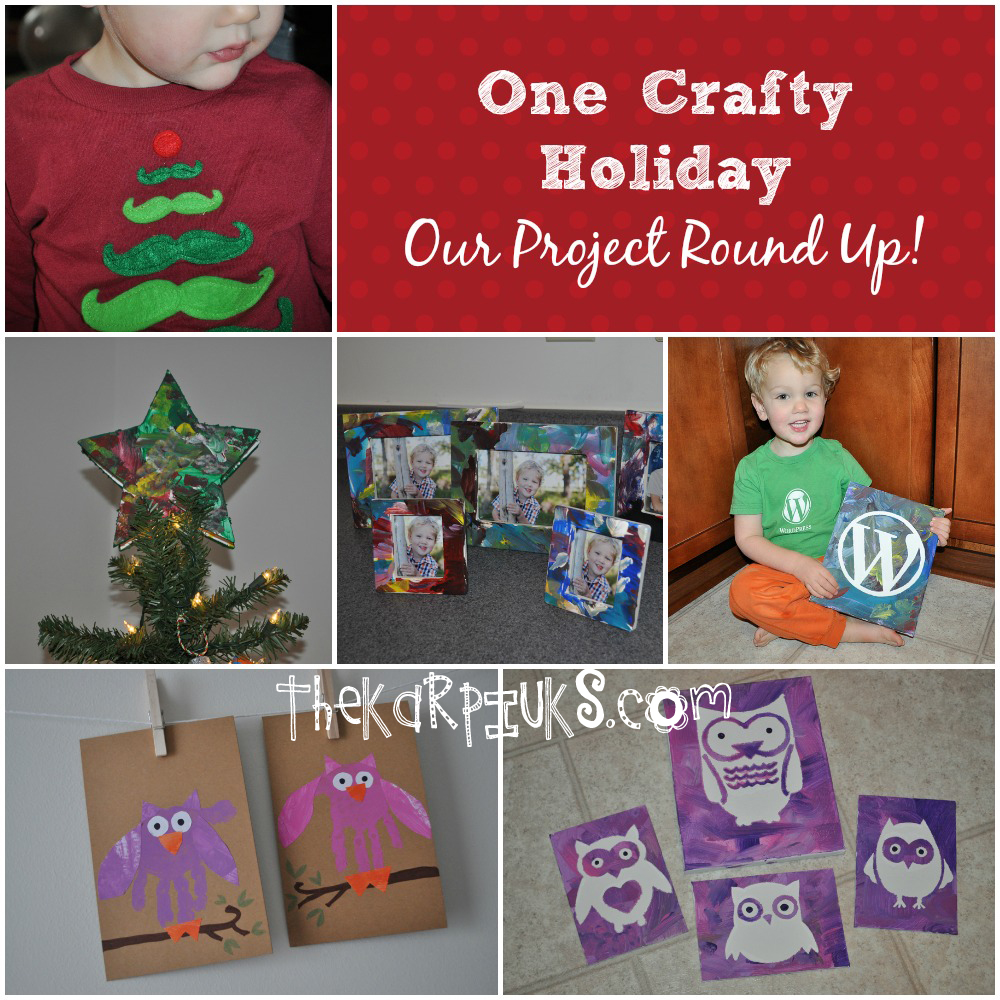
When all was said and done, we made six different projects in addition to baking and decorating Christmas cookies together or just coloring. From tree toppers and mustache Christmas tree shirts to canvas stencil paintings, frames, and hand print owls… we had fun getting messy! Here’s our round up of holiday crafting adventures:
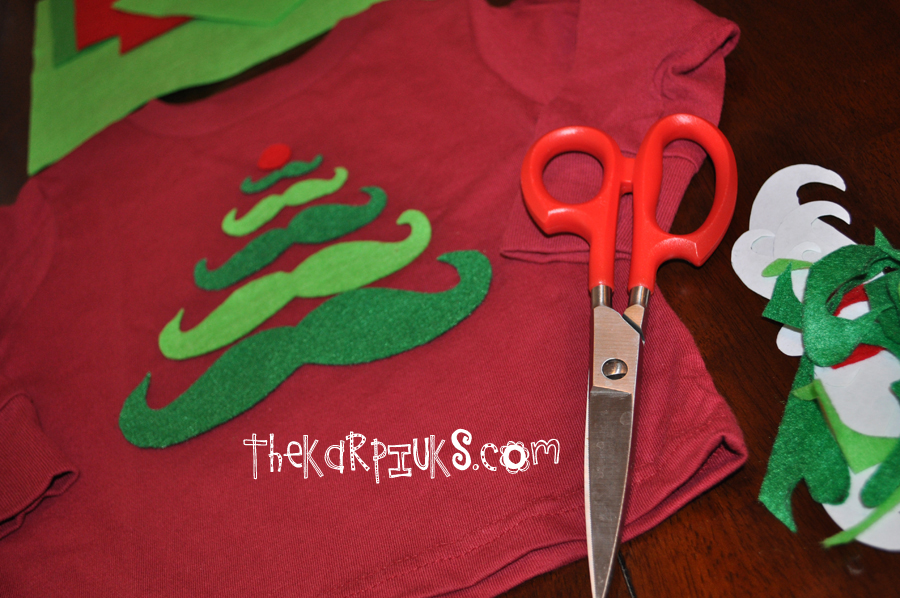 Mustache Christmas Tree Shirt
Liam needed a holiday-themed shirt to wear to his Christmas program at school, and with limited notice and not a ton of variety (or opportunities to shop) at the stores, we just made our own. Out came the green felt mustaches! We simply cut mustaches of varying sizes to create the tree shape and used fabric glue to secure them to the shirt. (Don’t forget a piece of cardboard or paper slipped inside the shirt to keep the fabric glue from soaking in and gluing your whole shirt together!) I admit that I was afraid the fabric glue wasn’t going to cut it, so I did bust out the sewing machine and quickly go around each ‘stache to secure them better to the shirt after the glue dried. The shirt was a hit at Liam’s program!
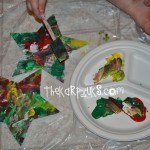
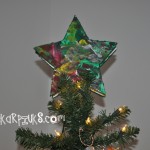
 Star Foam Tree Topper
Next up was a fun painting project where Liam got to decorate two thick star-shaped pieces of foam to make a tree topper. Once the paint had dried, I used a hot glue gun to glue two square wedges of the foam in between the two stars to act as spacers. This made a little space between the front and back star so that I could slip the whole thing over the top branch of the Christmas tree. Simply poke that top branch that sticks up in between the stars and voila – it sat beautifully atop our tree this year. Liam was really proud of “his star” and told everyone multiple times that he made it. There’s nothing like a toddler proud of his art!
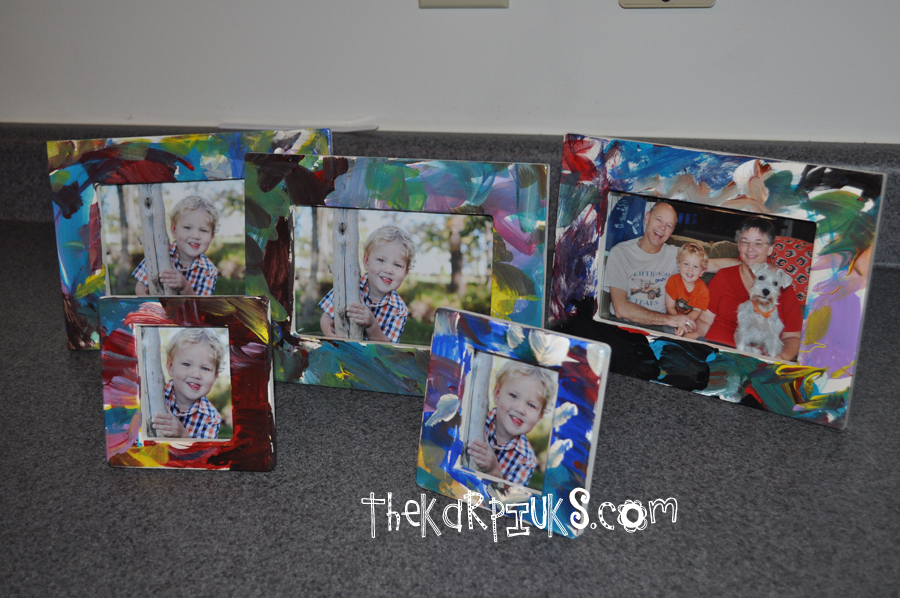
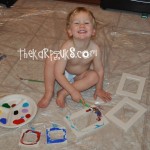
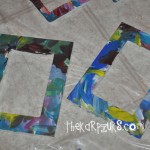
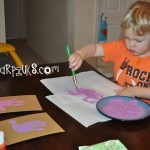
Painted Ceramic Frames
Every fall we take a new round of family photos to use for Christmas cards and to give to family and friends as gifts. This year we had a special picture of Liam that we planned to gift to Liam’s teachers and grandparents, so I ordered a few plain ceramic frames in both 5×7″ and 4×6″ sizes and let Liam paint them however he wanted. We just spread out the plastic drop cloth, gave him a paper plate full of paint and a few brushes, and his only instructions were to paint the frames. This was so much fun, and no two frames looked the same. The frames were a kit I purchased here, and the backing with stand was a separate piece of thick cardboard that I hot glued to the back of the frames once they had dried. Then I could insert the photo. These gifts were a huge hit!
 Canvas Stencil Paintings
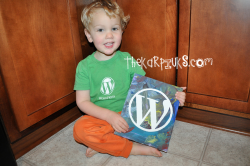
Canvases make great gifts and by using a stencil, I could let Liam go wild with paint and still end up with a specific image, too. The finished result was a clean image in white (since we used white canvases) and Liam’s masterful painting all around it. I plan to do a more thorough write up of this project in the very near future because it really was fun and easy. As you can see, we did two projects using the stencil method: a WordPress logo canvas for daddy for Christmas, and then several different owls in pinks and purples to hang up in baby Lila’s room. Liam LOVED making art for his little sister due next month! He was really proud of these, and I really liked the combination of clean lines and crazy toddler paint. We’re definitely going to have to do more of this style!
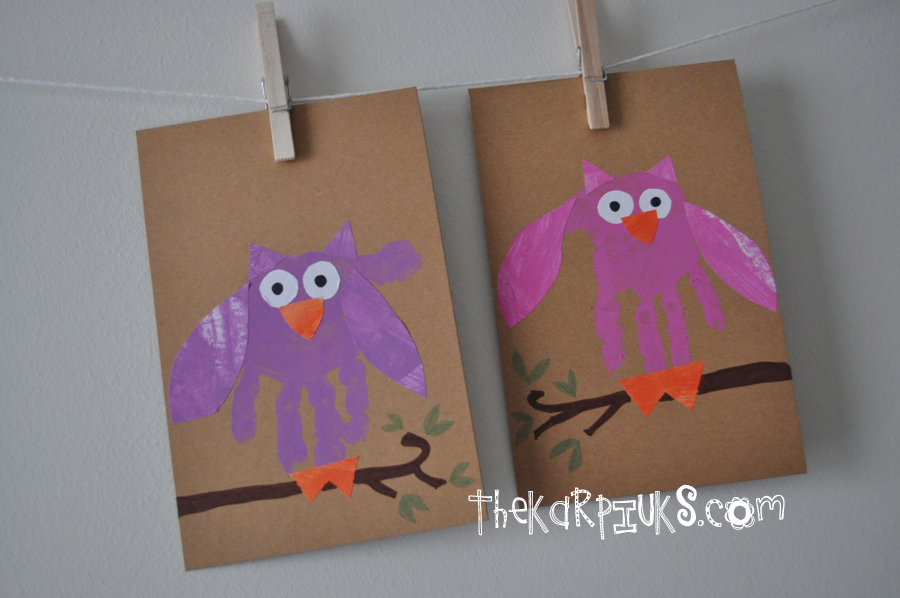 Hand Print Owls
Our most recent project were these cute hand print owl paintings. Again for, you guessed it, decorating Lila’s room. I’m not kidding when I say Liam really gets into art projects and enjoys making things for his “baby Lila.” This is another project that I’m going to do a follow up post about in a bit more depth, but the basic idea is that Liam made hand prints and we decorated them with eyes, ears, wings, a beak, and feet to make the hand prints look like owls. Liam made two, and I added the branches so that they looked like a set that we hung together in her bedroom. I kind of want to make an entire army of hand print owls now.

Whew! We sure enjoy crafting together. Liam received an easel and some watercolor paints, so I see some watercolor pictures (maybe more owls?!) in our very near future, especially since the foot of snow and subzero temperatures has extended our holiday break by at least another day. Be sure to check out the follow up posts for more details on a couple of these projects if you want to see how we did them more specifically. Those will be written up soon! I’d say with clean and organized closets and decor going up in Lila’s room that we’re almost ready for her arrival next month. Here’s hoping!
Happy crafting!
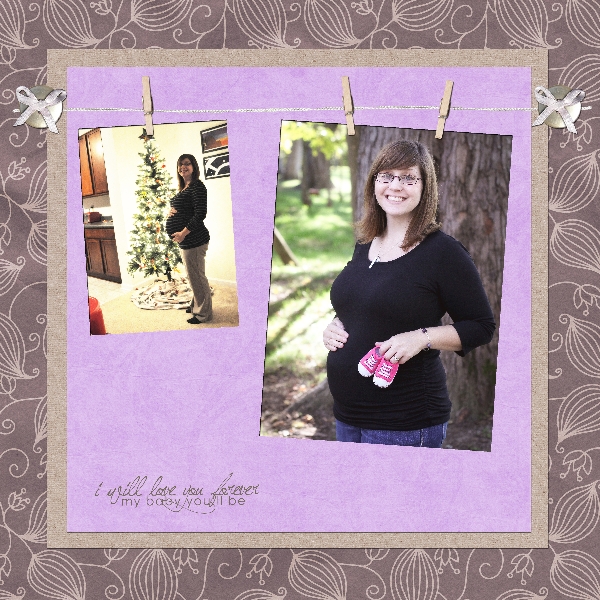
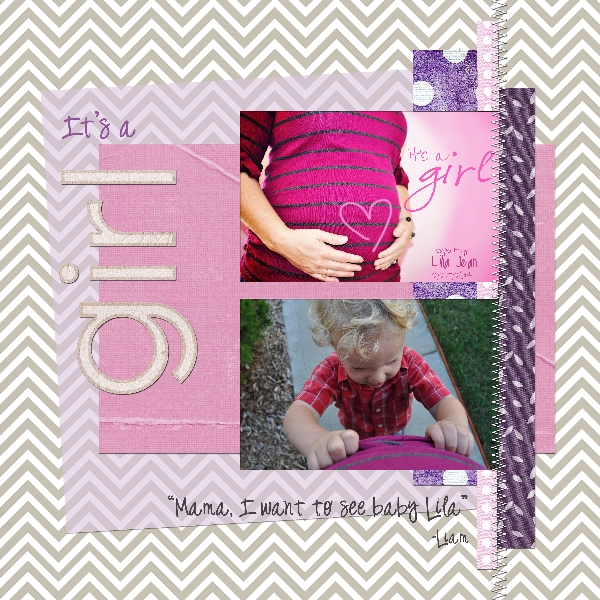
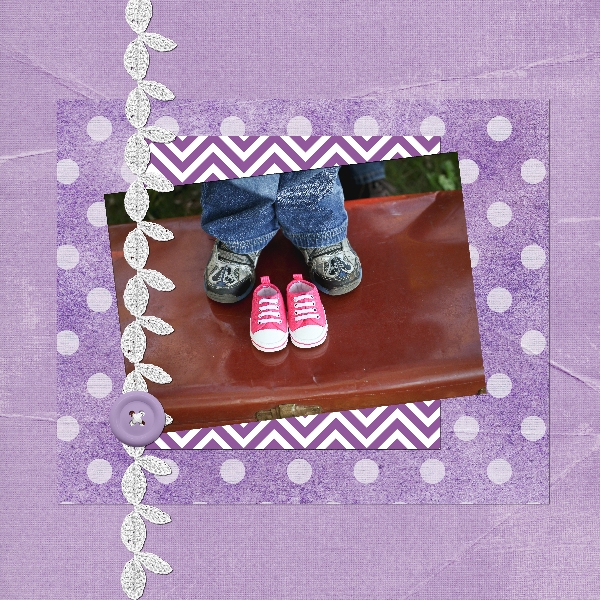
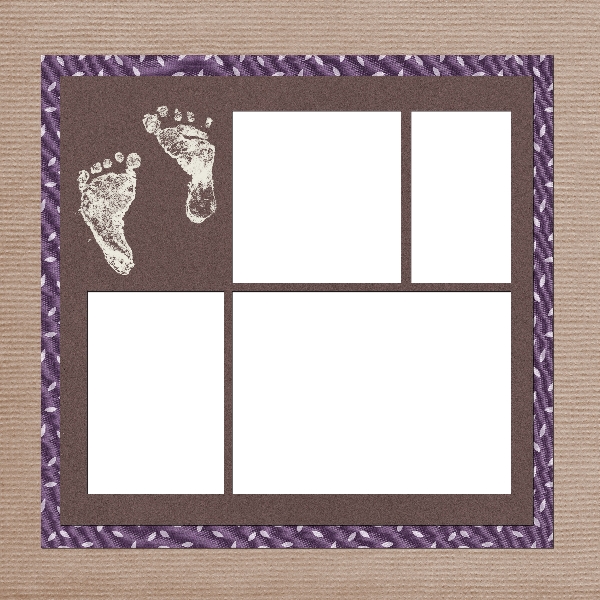
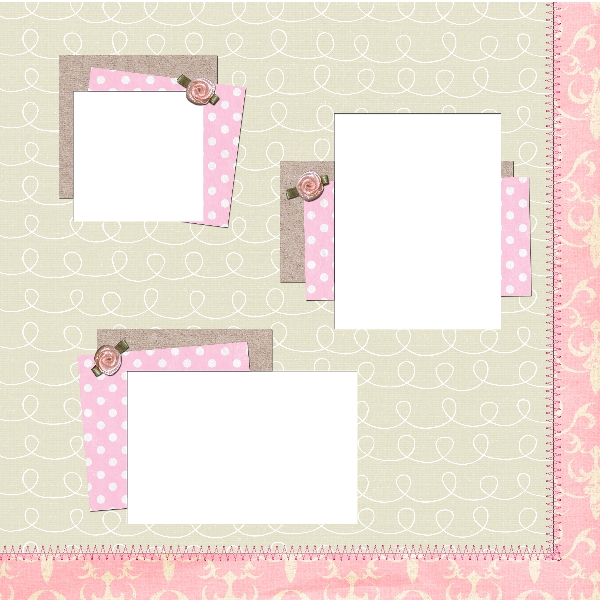
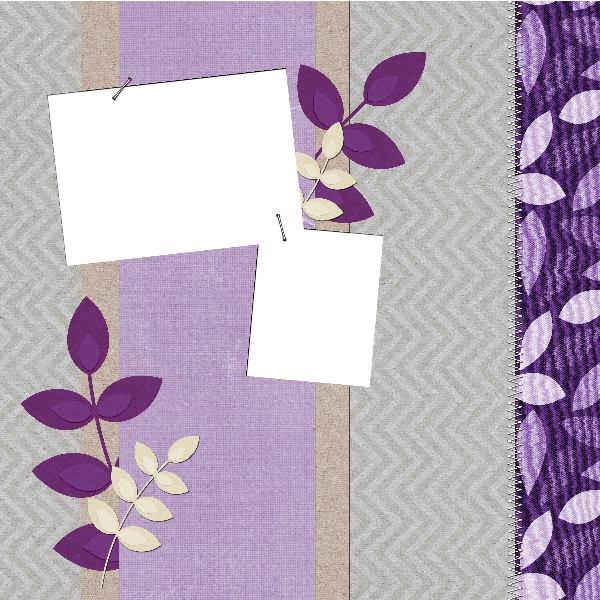
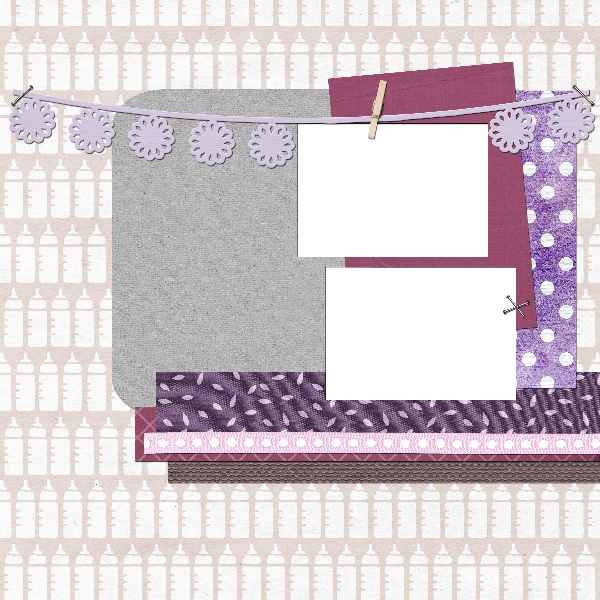
Preview: Lila’s Digital Baby Scrapbook
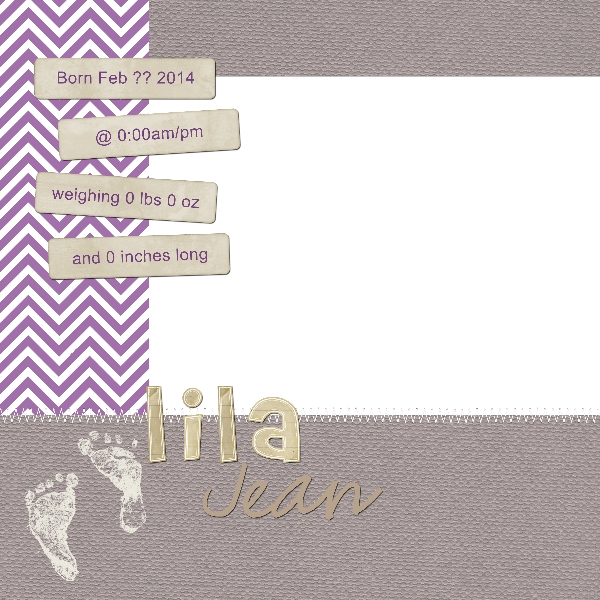
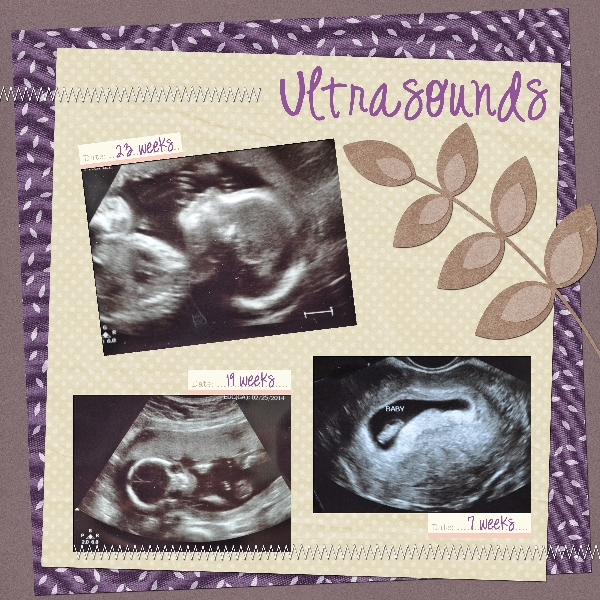
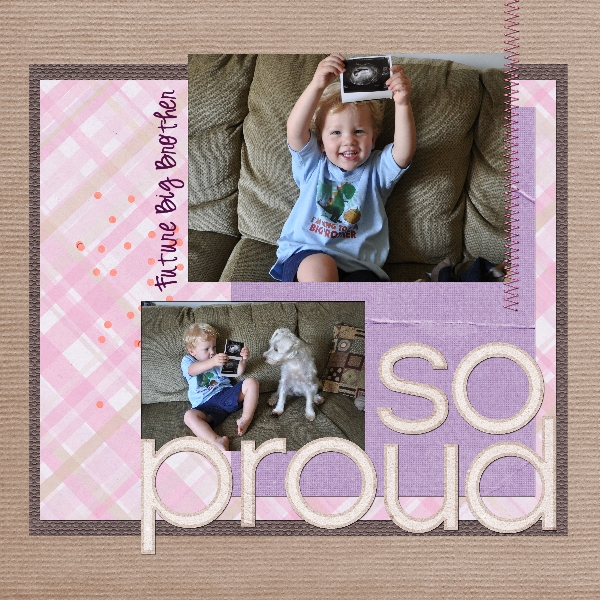
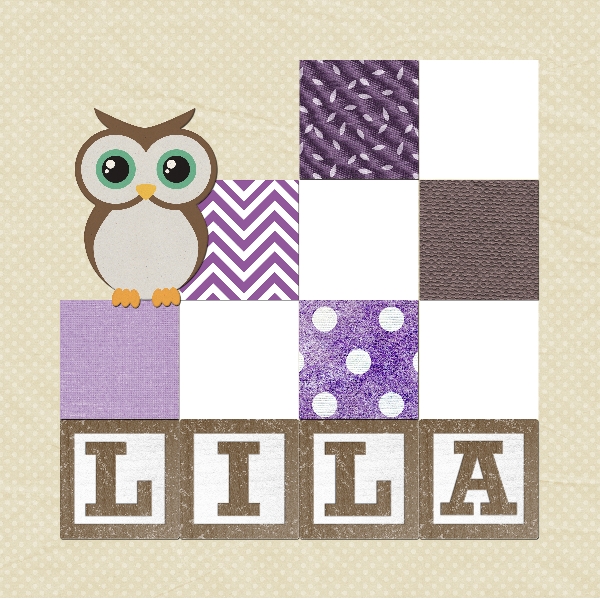
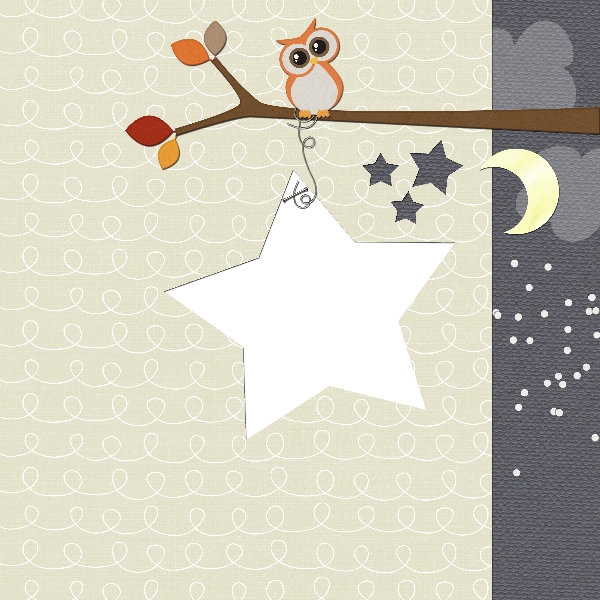
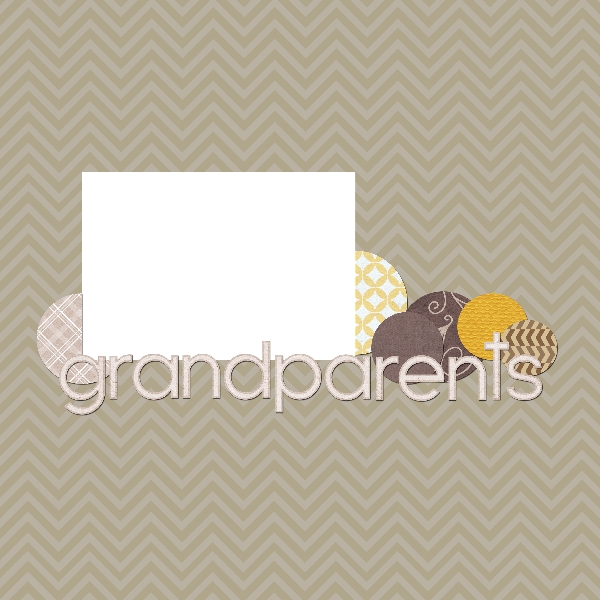
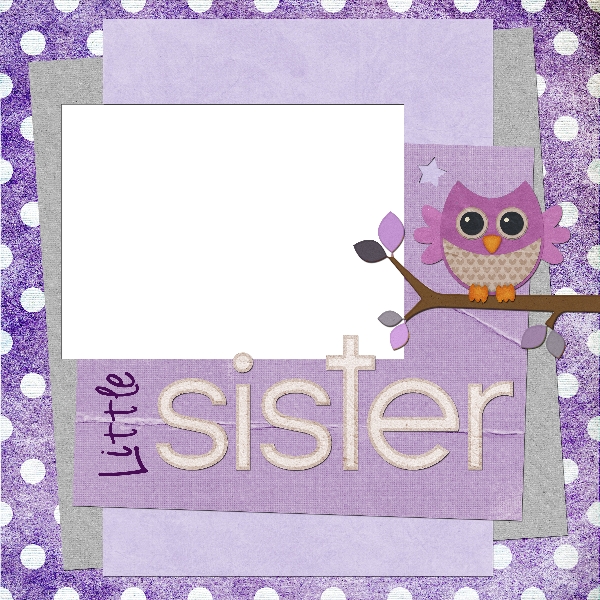
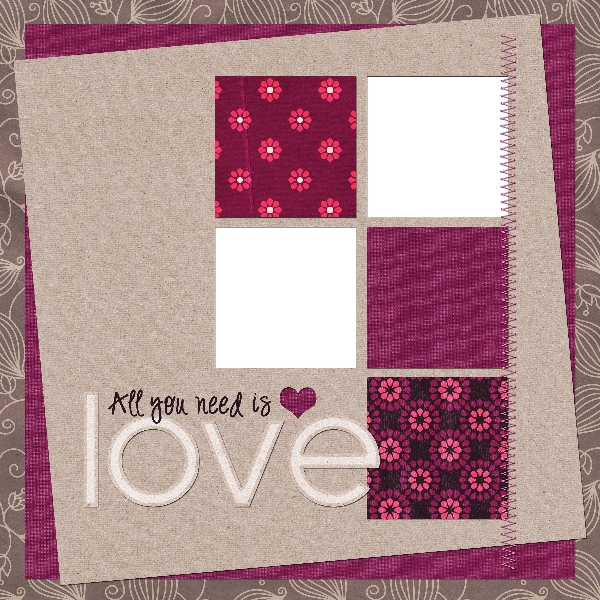
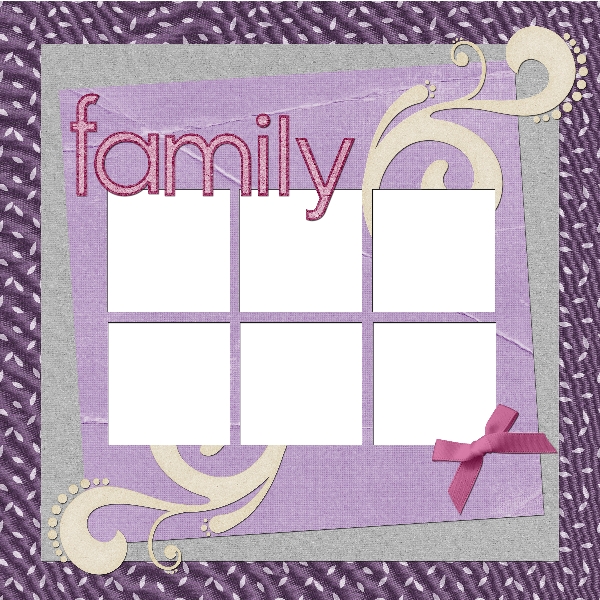
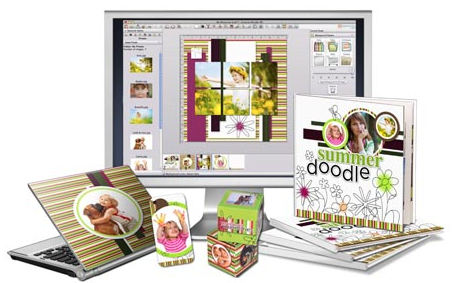
With geeklette on the way next month, I finally took some time to sit down and get some digital scrapbooking done to prepare. Just like when we were expecting Liam, I created roughly 44 digital scrapbook pages from scratch. I created the pages one-at-a-time in Photoshop so that I could make them full 12″ x 12″ PNG Quick Pages to use within My Memories Suite. I’m really proud of how the pages turned out! If you compare to Liam’s baby book digital scrapbook, you can see that I modeled many of the pages for Lila’s book after his pages, but using different papers and embellishments. I also set up her month-by-month first year baby book in My Memories Suite as well, and this is also basically a copy of Liam’s first year book (one page a month for monthly milestone updates) with a few tweaks to make it personalized to her. I cannot wait to start filling pages with beautiful baby girl photos come February!
Lila’s Baby Book Digital Scrapbook Preview


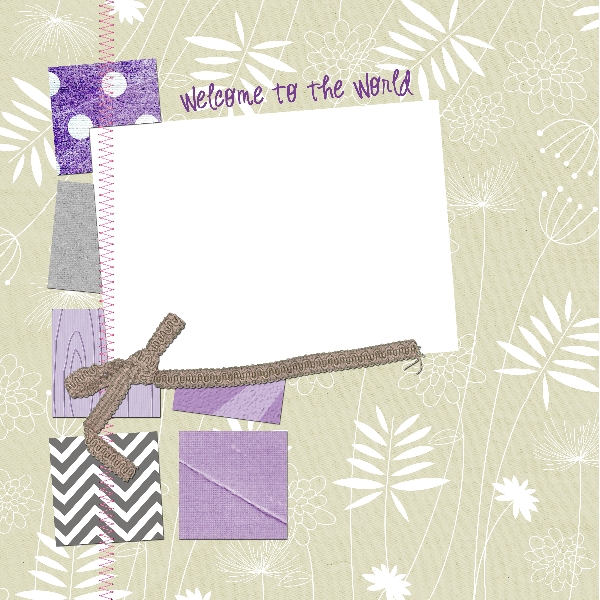
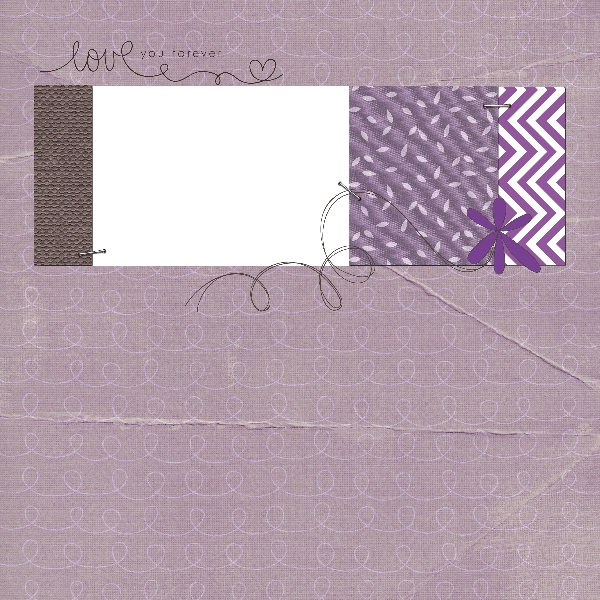
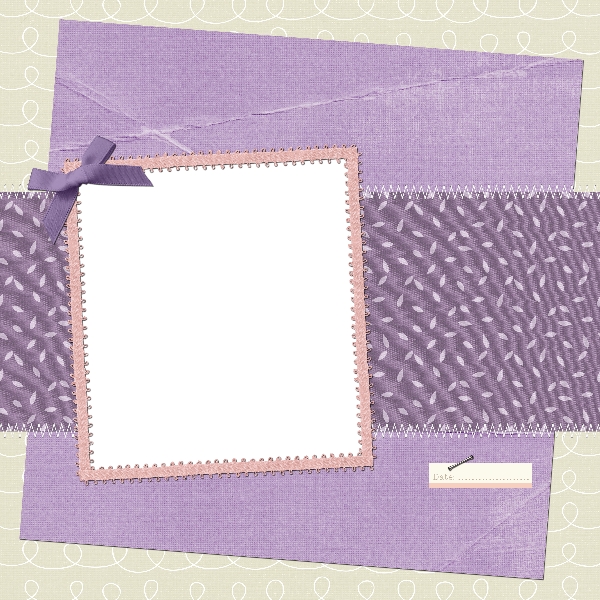


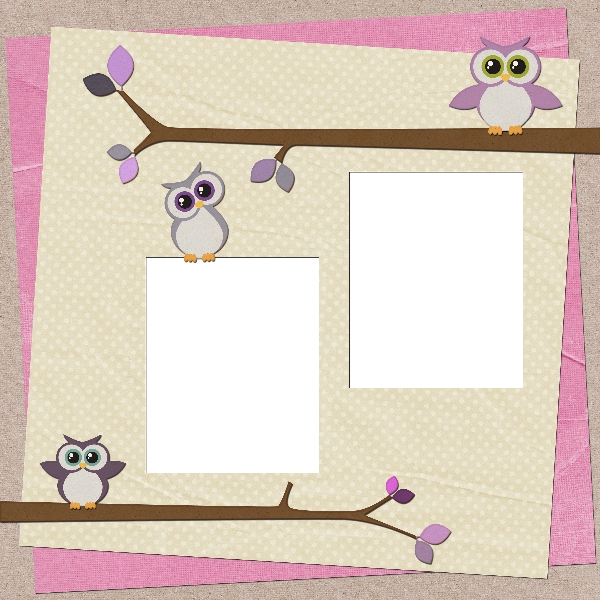
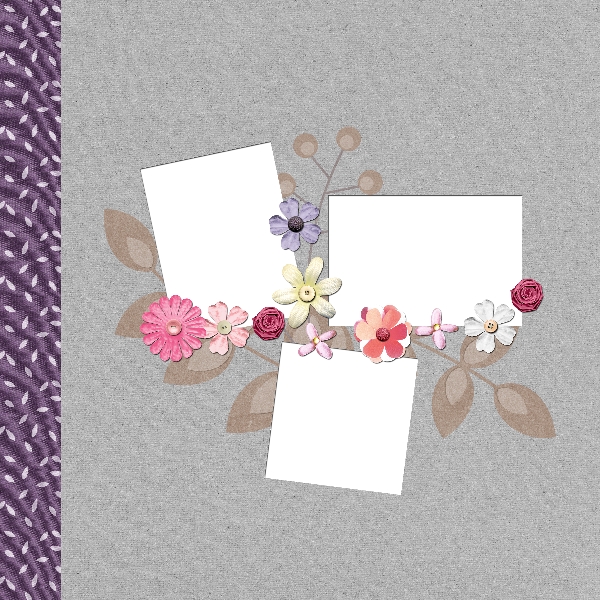
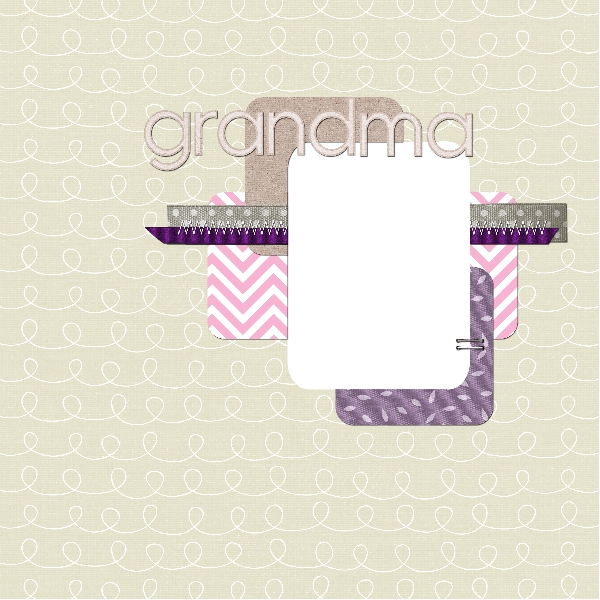
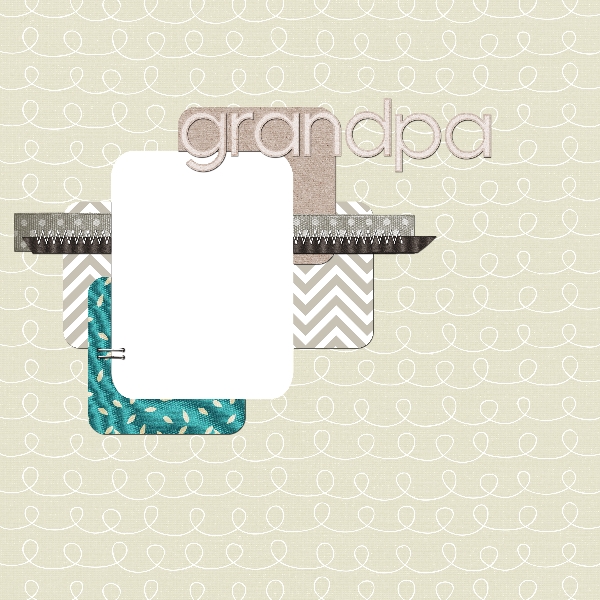
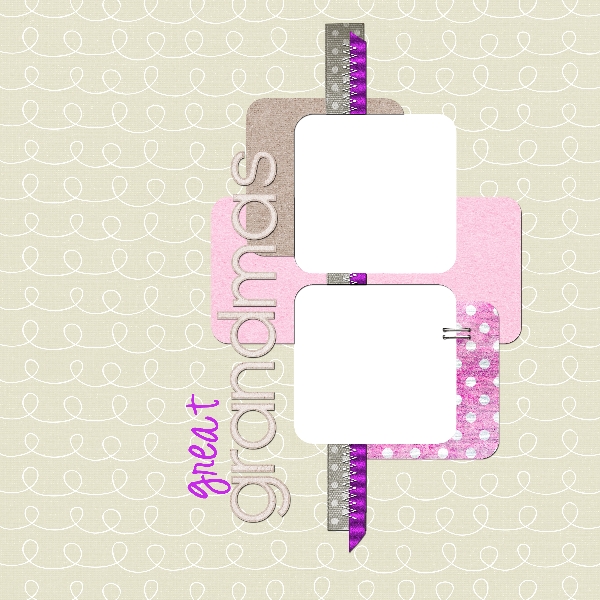
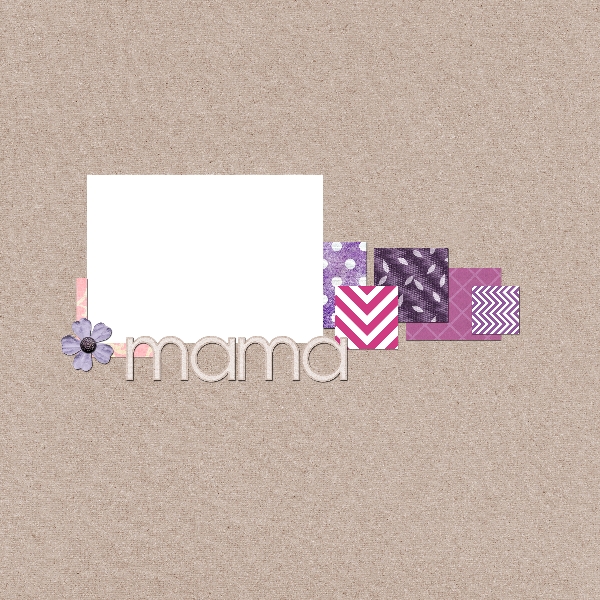
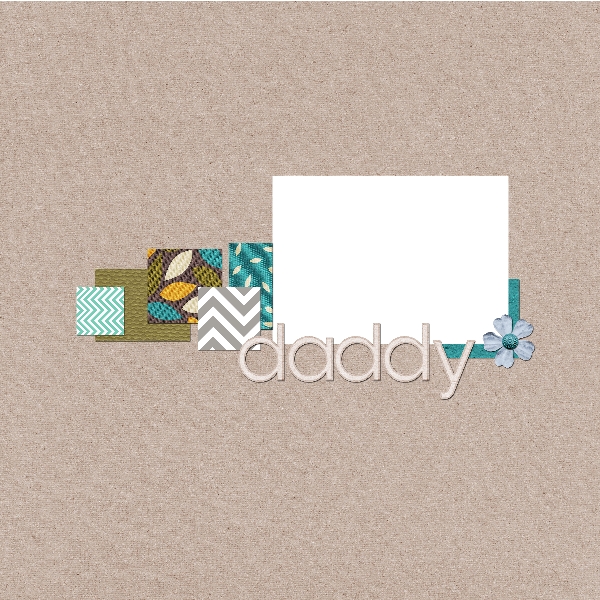
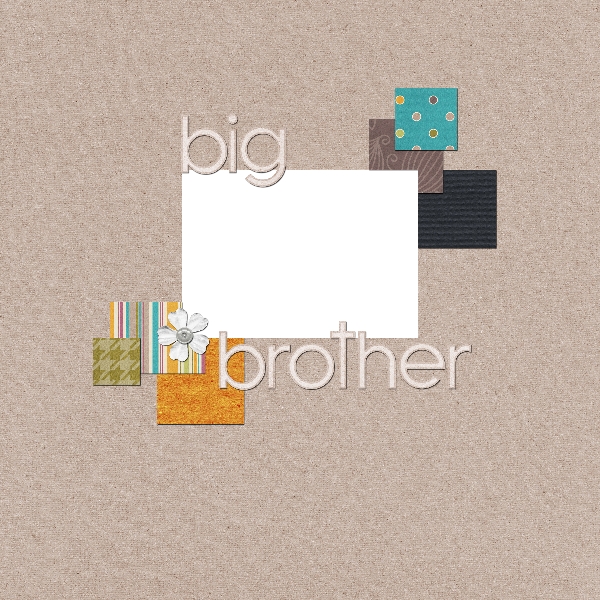

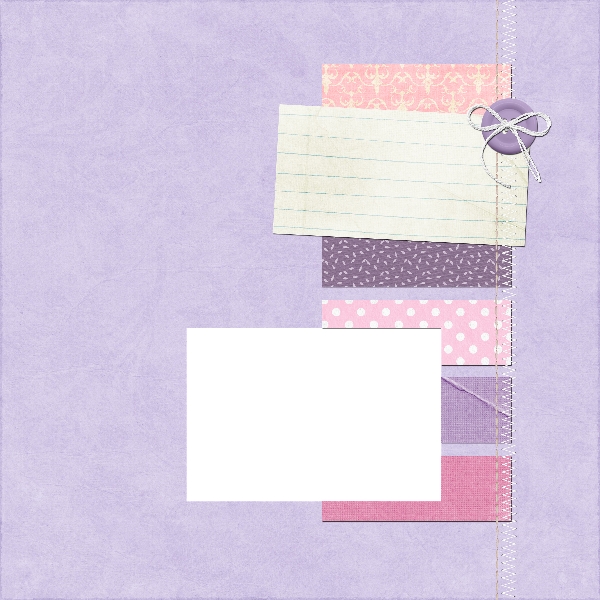
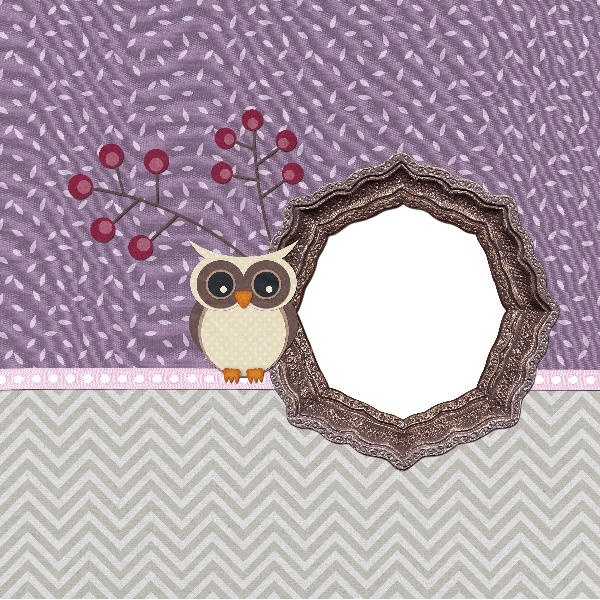
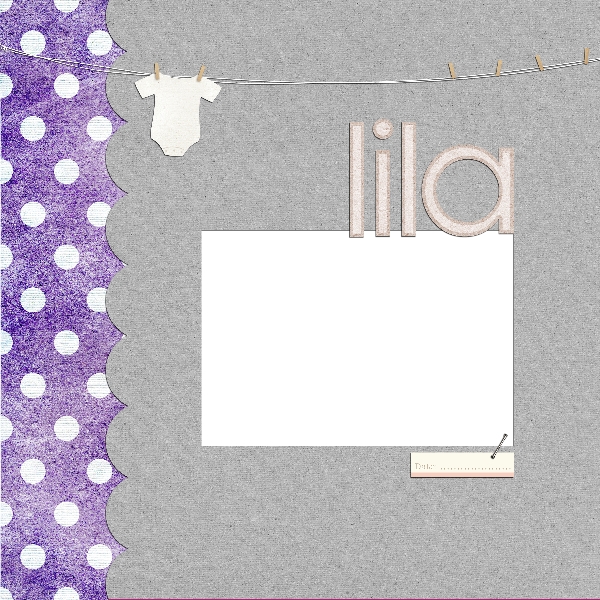
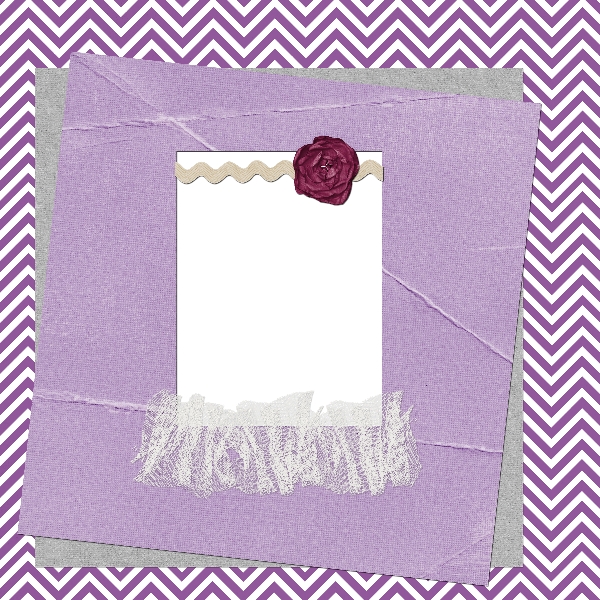
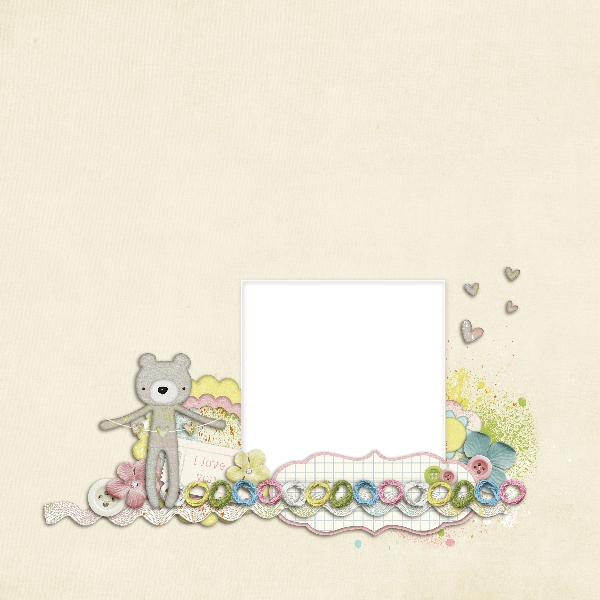
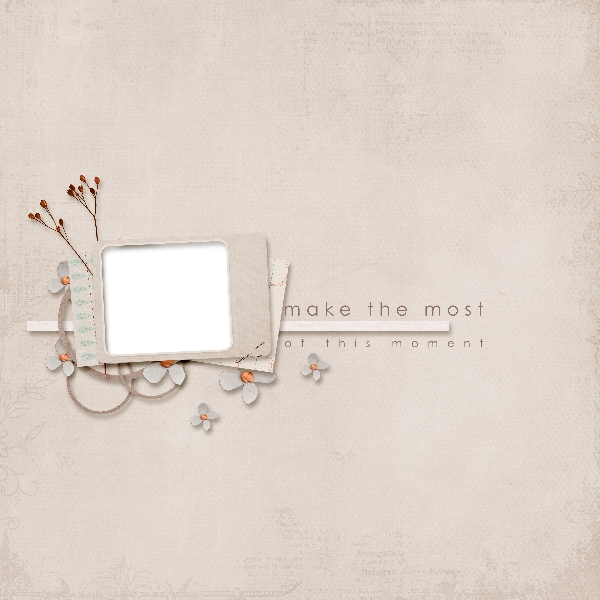

Though My Memories Suite is on version 5 now, my old video tutorial back from version 1 about using Quick Pages in My Memories Suite still applies – I insert my Quick Page PNG files onto a blank MMS page as an embellishment. It’s important to use PNG files, because they have transparent openings for your photos to show through. After you add the Quick Page PNG file as a full-page embellishment, you add photo boxes via the software on top of the photo openings, add a photo, and then send the photo behind the page embellishment so that they peek through and look fabulous.
Looking for the best digital scrapbooking software ever? I can offer you a discount on purchasing My Memories Suite if you use promo code STMMMS21122 when checking out! I love that I can use all of the pre-built layouts, embellishments, pages, and papers that come with the software, or add my own external stuff… because there are tons of sites out there that sell their own digital scrapbooking kits that you can use within My Memories Suite seamlessly. Want the full scoop? Check out my review here.
GEEKSOAP Re-Launch!
Today I re-launched the GEEKSOAP site, including a total overhaul on the site AND store layout. Everything is fresh and new, and I’ll be doing all of my soap related blogging over on the new site instead of here. Be sure to check it all out over at geeksoap.net – there’s a coupon code on the blog that’s good for 20% off your entire order until February 1!
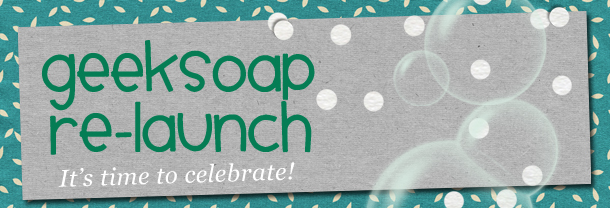
As a reminder, to stay up with GEEKSOAP related news and contests, be sure to follow the blog over there, as I’ll reserve The Pink Toque (or our family blog) for non-soap stuff going forward.
I’m so excited! Hope you like the new layout!
GEEKSOAP for the Holidays (Beat the Rush SALE!) & Holiday 2013 FAQs
It has been the busiest holiday season yet for GEEKSOAP.net! We’re on track to surpass even last year’s astronomical holiday sales, so THANK YOU!
Like last year, I’m offering a fabulous way for you to beat the traditional holiday rush AND save big on all of your geektastic soap favorites with the Beat the Rush 2013 sale! Click the banner below for more information and to grab the 20% off code good for everything in the shop at geeksoap.net.
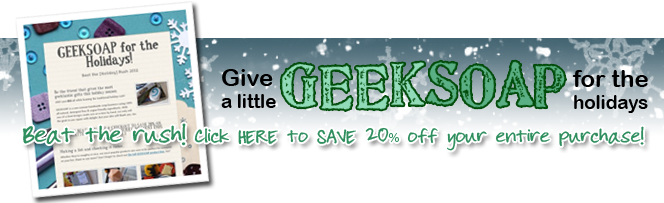
That being said, you guys have sold me out completely a number of times already since the sale went live on November 1. Which is AWESOME of course, but also frustrating to those of you trying to order towards the end of the week because it’s all sold out! I’ve put together a quick Holiday FAQ page over at geeksoap.net to help make sense of all the madness so be sure to check it out! For the TLDR version, just know I restock the shop of all sold out items first thing every Monday morning. The most popular soaps are generally sold out by Wednesday or Thursday, and I catch up over the weekend and rinse/repeat the restocking process on Monday.
A question I’ve been asked a lot is how I can sell out when I don’t keep traditional stock. You’re right – I don’t keep soap stock lying around. Every single order is made FRESH when ordered, made to order, in the order it was received. (That’s a lot of orders.) Because I’m the only employee of GEEKSOAP and I make each order by hand myself one-at-a-time, on top of also being the only one to wrap, package, and ship all of your individual orders, AND additionally on top of teaching full time… I set stock numbers to reflect what I can realistically and reasonably make in 10 business days or less. This is mostly to ensure I can get your order to you in a reasonable amount of time. It also is my safety net so that I don’t drown in soap orders I can’t physically keep up with, which would also mean you’d never get your order if I set numbers beyond my means. I refuse to compromise when it comes to your satisfaction!
I truly appreciate your patience during this busy time. Know that I am working overtime and doing everything I can to ensure orders are continually made with the highest quality standards AND on a schedule so that you still receive your order in time for holiday gift giving. For more information check out the Holiday FAQ page.
New Shop Layout is Coming!
GEEKSOAP is getting a complete shop overhaul and relaunching fresh with all kinds of awesome new features, new look & layout, and new products in January 2014! I cannot wait to share what’s coming! You can bet on fantastic giveaways and prizes to celebrate the exciting new look and shop format. Stay tuned and THANK YOU for being the reason I’ve been able to make my small business dreams come true.
New Soap Coming in 2014
Plans for new soap in early 2014 include a Wonder Woman design and a trilogy soap set for Hunger Games fans. You’re going to love them!
Thank you for your business and all of your love & support. YOU are the reason I do what I do, and YOU are the reason GEEKSOAP is successful. I couldn’t do it without you!
Please note: Christmas delivery not guaranteed for domestic (U.S.) orders after December 6, 2013. The shop will be closed between December 14 and January 6 so that I can restock & organize supplies, prepare for the HUGE relaunch of the brand new shop layout, and to spend time with my family. I appreciate your understanding!
Get My Memories Suite v4 FREE this week – no trick, just a treat!
 I know it’s been awhile since I’ve blogged about all of the craftiness going on in my life, but trust me when I say I’ve been busy! My small, handmade geeky soap business, GEEKSOAP, is busier than ever, and most of my free time is spent working on orders and designing fun, new soaps.
Welcome Back Hockey Contest: Win Custom Hockey Puck Soap!
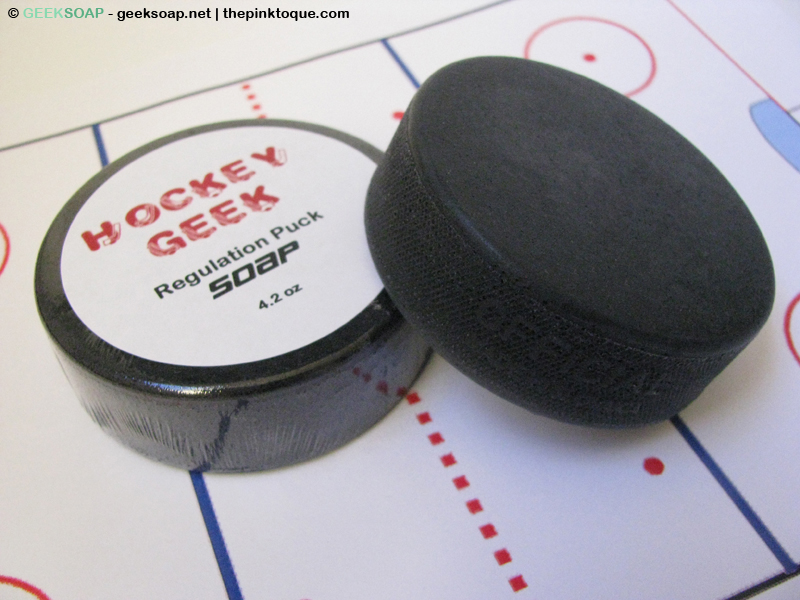 HOCKEY IS BACK! One great surprise in the new year is the return of NHL hockey! Sure it’s only half a season but half a season of hockey is better than none, and we can’t WAIT to watch games again! The return of hockey prompted the return of my popular Hockey Geek regulation size puck soap. And to celebrate, I’ve got a bar to give away to a lucky reader… customized with your fave hockey team’s logo on top! Whether you’re a Calgary fan or a Blackhawks fan, I can accommodate for your prize puck. When the random winner is chosen and contacted, I’ll ask you for your favorite team choice and print the top label accordingly.
Ready to win some hockey puck soap and celebrate the return of the NHL season? Complete the form below. The random winner will be chosen on Thursday, January 17 and your prize puck will be shipped out on Friday, January 18 via USPS Priority mail. Score!
a Rafflecopter giveaway
Good luck! Welcome back hockey!
The NHL and hockey team logos are copyright to their respective teams and the National Hockey League. These are not licensed soaps nor endorsed by the NHL. It’s just for fun, and no profit will be made on this giveaway.
So Much New Soap at GEEKSOAP.net in 2013!
Happy New Year!
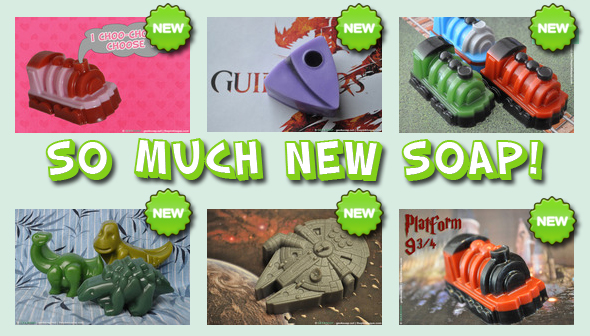
It’s 2013 and with a new year comes NEW SOAP in the GEEKSOAP.net shop! Have you seen all the new stuff?! There’s Harry Potter soap, Guild Wars 2 soap, and Millennium Falcon soap. You’ll even see some new dinosaur soap and train engine soap AND (whew!) there’s some sweet new Valentine’s Day picks like the “I Choo-Choo-Choose You” train soap! When paired with a classic favorite, the less-than-three heart emoticon soap, both make perfectly unique valentines to give your special someone this year. Seriously, the shop is busting at the seams with new stuff and I’m so excited about a fresh new year full of awesome for GEEKSOAP!
Be sure to head on over to GEEKSOAP.net to nab all of the new goodies! To thank you for all of your holiday orders that kept me busy leading up to Christmas, (another record breaking year of sales!) I’ve got a discount code for you – HolidayTY – for 10% off everything in the store until the end of the month. I can’t thank you enough! YOU are the reason I do what I do, and I appreciate it so much! <3

Welcome 2013! All the best in the new year to you and yours.
Get My Memories Suite
Use promo code STMMMS21122 to save!
Read my review here!
Check This Out!


D20 Soap On A Rope
Batman Soap Tutorial
Mahjong Tile Set

Digital Scrapping Freebies
knitty.com


Teach yourself to knit!
Get MMS V6 NOW!