Plush House Ornament with Tutorial
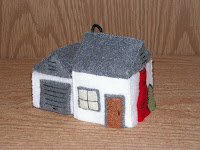 Some good friends of ours just got engaged AND they bought a house and move in on April 1st. They have a thing for Christmas tree ornaments, so I decided to make them a little congratulations gift for their engagement and their new house by making them a little plush house… ornament :)
I had the idea the other night when I went to bed, and layed awake making a list in my head and designing the house and how I would make it and put it together in my head. (my brain never sleeps it seems.) The next morning I started working on it. I don’t have a pattern to share since it’s just a bunch of squares/rectangles with a couple triangles, but I did take a lot of pictures along the way to give you an idea of what I did so I could present a half-tutorial for anyone that might want to make one for themselves :)
Plush House Tutorial
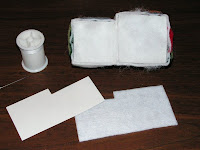
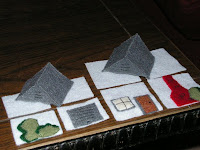
First I cut out the pieces – no bottoms or tops for the square that made up the shape of the house nor the rectangle that made up the garage: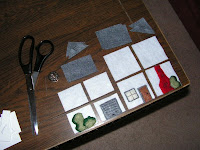 Every little item like the bushes, fireplace, window and door was cut by hand from felt and carefully handsewed on. No machine on this one! It’s way too small and intricate for my personal sewing machine abilities, anyway. I’m digging the handmade look that the showing stitches give it, though.
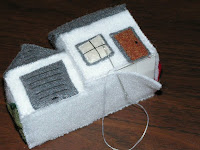
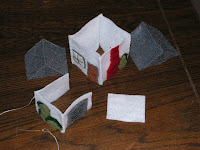
I formed the roofs and then started putting the walls together:
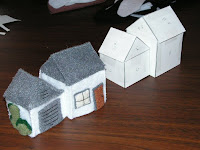
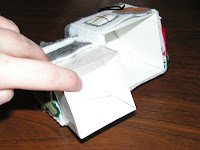
Voila! I forgot to mention that just before I inserted the cardboard supports in the house that I used embroidery floss to make the hanging loop, and knotted it well inside so it’d not come out. I chose a spot in the roof that was somewhat centered as far as the entire final piece goes so it’d hang as evenly as possible.
And that’s it! This is a really basic house – if you use your imagination you could make many more squares and rectangles and make your house much bigger and more complex. It’s all up to you! I hope that our friends like it! :) The cardboard inserts and polyfil really makes it sturdy and hold its shape well. I’m really happy with it!
