Papier-Mache (Part 1) and a Crochet Huug©
 This weekend I found a little time to get some crafting done. Mostly because one of my projects I started is also kinda school/work related, so anytime you can combine your hobbies with work it’s a good thing.
My students are going to have dinosaur week the week after next, and I’m prepping ahead of time to have some really cool things available to them. I decided to start out this papier-mache dinosaur egg project over the weekend because it would need around a week’s worth of time for preparation to ensure they were ready for the kids.
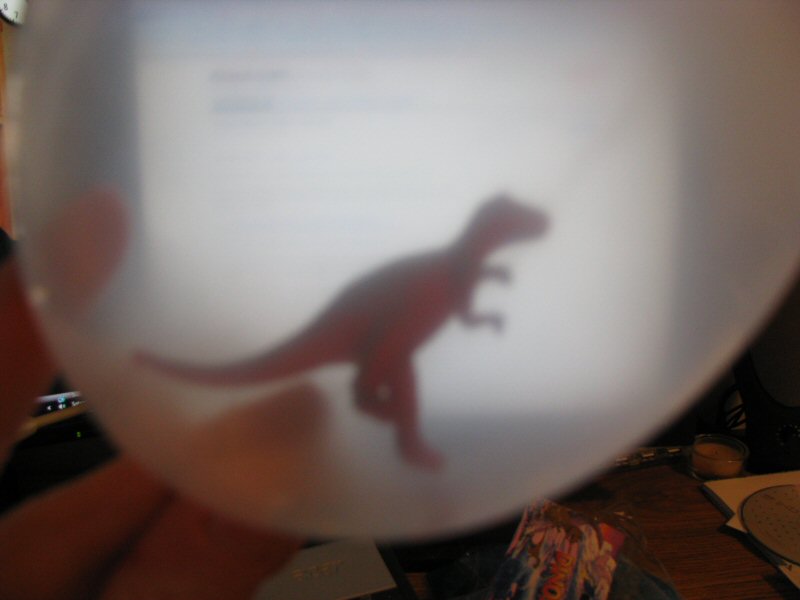
So how do you make dinosaur eggs? Well, I bought a package of 24 transparent balloons (any balloon colour would work) and two 12-piece packages of tiny little plastic dinosaurs. Both of these things I found at Dollarama by our house, so it was an even better score! To make dinosaur eggs, you first put one dino inside each balloon and then blow the balloons up to around “dinosaur egg size” (whatever that is!) and voila! You have a plastic dino inside of a balloon. Why do I want a dino in a balloon? Well, the balloon is a vehicle for papier-mache really. Later this week I’ll get to the messy part 2 and papier-mache over these balloons to create a nice firm egg, leaving a little opening around where the tie off for the balloon is for later. Once the papier-mache dries I can pop the balloon and discard it from within the egg, then add a little layer or two of papier-mache over the opening to seal up the egg for good. I suppose if you would rather add the dino then, as opposed to earlier you could, as long as you leave a large enough opening to fit the dinosaurs. I plan to take the hardened eggs into the classroom and distribute them to my students. After explaining that I found some dino eggs we can speculate what dinosaur eggs looked like and they can have fun painting the eggs however they want :) The next day when the paint has dried they can “hatch” their eggs and receive the little dino inside as a keepsake of the project. I’ll post about part 2 later this week :)
Now normally I would prefer the students make the papier-mache and do everything themselves, but our school has a policy about using balloons with the younger kids and I’d rather not risk it. Not to mention kiddos trying to fit dinos into balloons could be a bit of a challenge. Instead I really like the idea of sparking their imagination when I come in with a bunch of dinosaur eggs I “found” and letting them run wild when they get to paint them. I also like the element of surprise that comes with them having no idea what dinosaur is inside or what they’ll get when their egg hatches. All while they are painting their egg they will be able to hear their dinosaur rattling around inside but they won’t know for sure what it looks like or what kind it is until hatching day. I’m hoping this will be a memorable project for them — and hey, they’ll love being able to take something home with them as a result of the lesson.
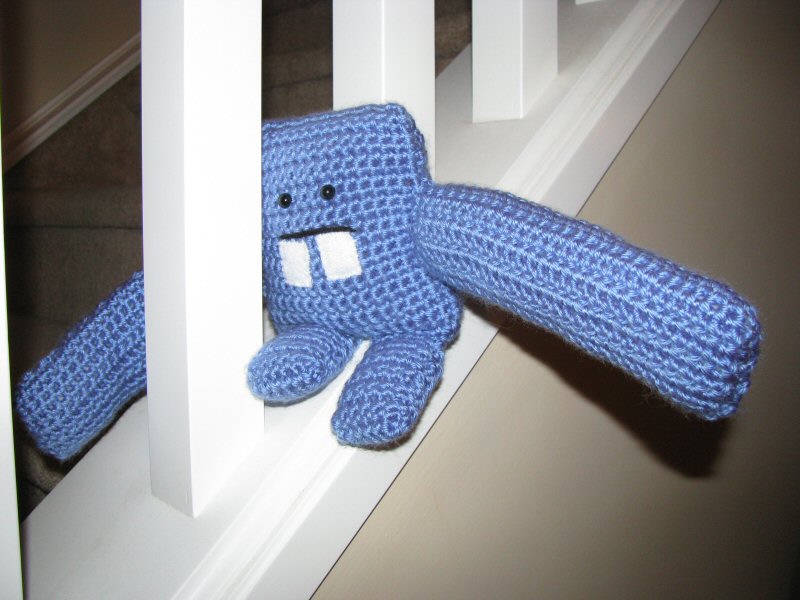 As for crochet this weekend, I finished my crochet version of Huug the Hug Monster© — a character I dreamed up one day on the way to work. I originally created Huug a year ago and knitted the prototype Huug, but this weekend I decided to make Huug in crochet form. I think the newest one turned out pretty well! He is part of my recent retail plans, as I hope to be able to sell him in a boutique-y shop or two locally. I officially copyrighted the character and his knit/crochet patterns this weekend as well, dating back to last year, for the sole purpose of having that all registered officially on paper and all. Wish me (and Huug) luck!
2 Responses to “Papier-Mache (Part 1) and a Crochet Huug©”
Get My Memories Suite
Use promo code STMMMS21122 to save!
Read my review here!
Check This Out!


D20 Soap On A Rope
Batman Soap Tutorial
Mahjong Tile Set

Digital Scrapping Freebies
knitty.com


Teach yourself to knit!
Get MMS V6 NOW!
That is so cute!
Thank you :)