Our Holiday Crafting Round Up!
 Note: This post was originally posted at our family blog, since all of our holiday crafting this year was a family affair.
It’s been a magical couple of weeks home on winter break, and we spent a lot of time crafting for various projects (both Christmas gift related and baby Lila related) and getting ready for baby Lila’s arrival next month.
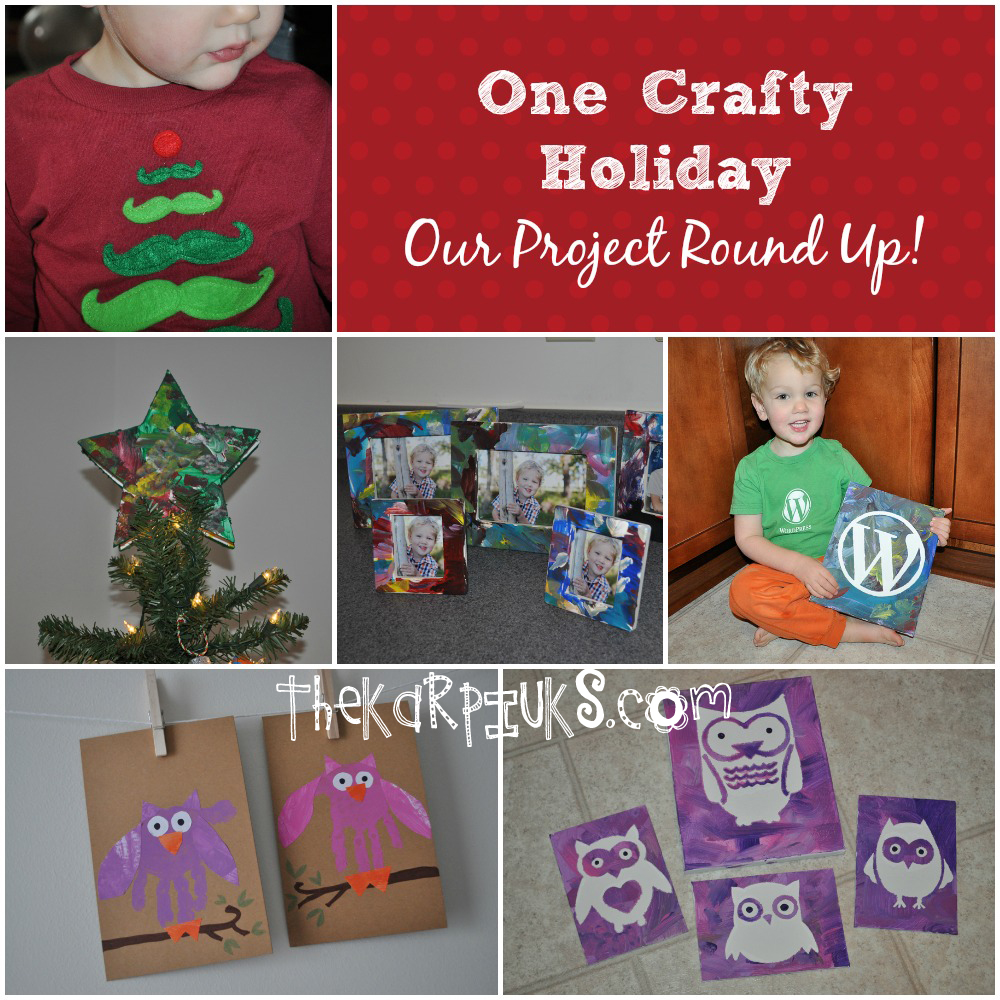
When all was said and done, we made six different projects in addition to baking and decorating Christmas cookies together or just coloring. From tree toppers and mustache Christmas tree shirts to canvas stencil paintings, frames, and hand print owls… we had fun getting messy! Here’s our round up of holiday crafting adventures:
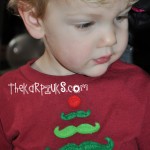
 Mustache Christmas Tree Shirt
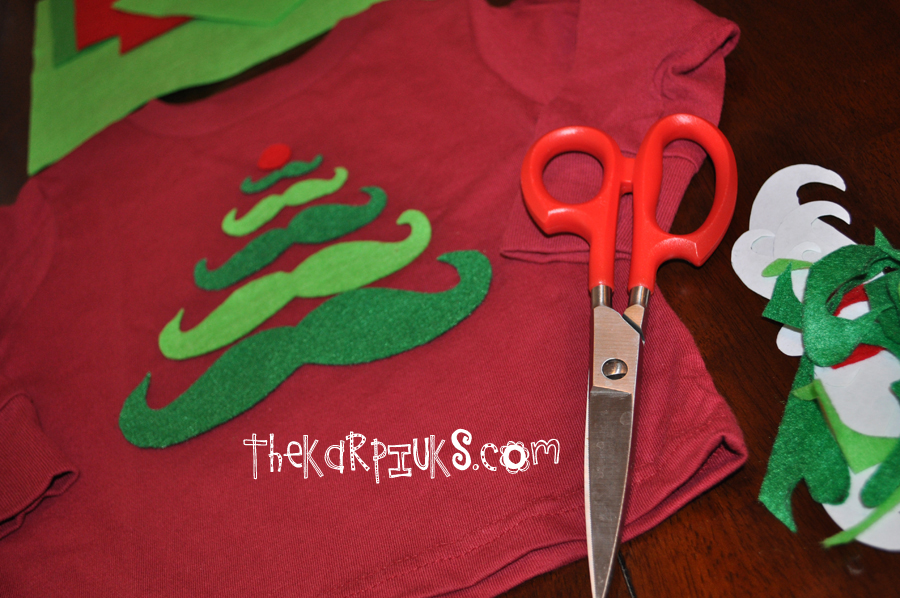
Liam needed a holiday-themed shirt to wear to his Christmas program at school, and with limited notice and not a ton of variety (or opportunities to shop) at the stores, we just made our own. Out came the green felt mustaches! We simply cut mustaches of varying sizes to create the tree shape and used fabric glue to secure them to the shirt. (Don’t forget a piece of cardboard or paper slipped inside the shirt to keep the fabric glue from soaking in and gluing your whole shirt together!) I admit that I was afraid the fabric glue wasn’t going to cut it, so I did bust out the sewing machine and quickly go around each ‘stache to secure them better to the shirt after the glue dried. The shirt was a hit at Liam’s program!
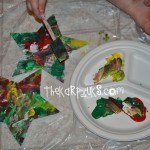
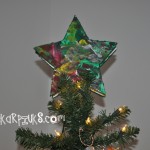
 Star Foam Tree Topper
Next up was a fun painting project where Liam got to decorate two thick star-shaped pieces of foam to make a tree topper. Once the paint had dried, I used a hot glue gun to glue two square wedges of the foam in between the two stars to act as spacers. This made a little space between the front and back star so that I could slip the whole thing over the top branch of the Christmas tree. Simply poke that top branch that sticks up in between the stars and voila – it sat beautifully atop our tree this year. Liam was really proud of “his star” and told everyone multiple times that he made it. There’s nothing like a toddler proud of his art!
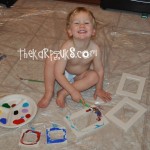
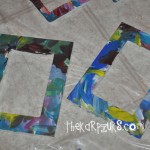
Painted Ceramic Frames
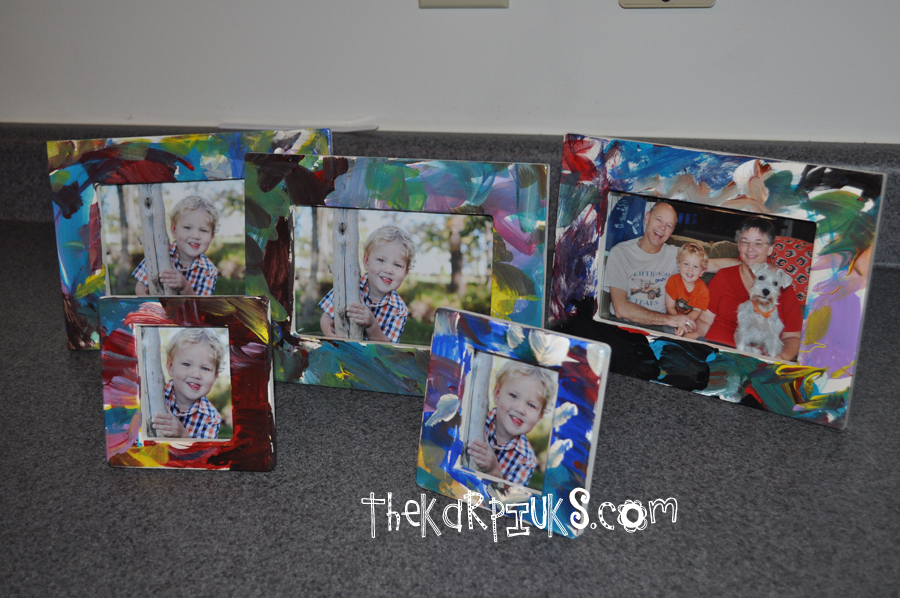
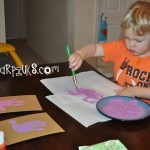
Every fall we take a new round of family photos to use for Christmas cards and to give to family and friends as gifts. This year we had a special picture of Liam that we planned to gift to Liam’s teachers and grandparents, so I ordered a few plain ceramic frames in both 5×7″ and 4×6″ sizes and let Liam paint them however he wanted. We just spread out the plastic drop cloth, gave him a paper plate full of paint and a few brushes, and his only instructions were to paint the frames. This was so much fun, and no two frames looked the same. The frames were a kit I purchased here, and the backing with stand was a separate piece of thick cardboard that I hot glued to the back of the frames once they had dried. Then I could insert the photo. These gifts were a huge hit!
 Canvas Stencil Paintings
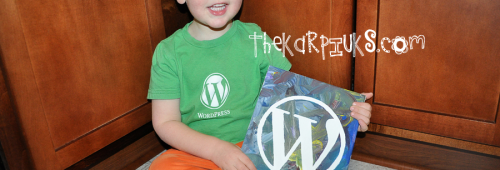
Canvases make great gifts and by using a stencil, I could let Liam go wild with paint and still end up with a specific image, too. The finished result was a clean image in white (since we used white canvases) and Liam’s masterful painting all around it. I plan to do a more thorough write up of this project in the very near future because it really was fun and easy. As you can see, we did two projects using the stencil method: a WordPress logo canvas for daddy for Christmas, and then several different owls in pinks and purples to hang up in baby Lila’s room. Liam LOVED making art for his little sister due next month! He was really proud of these, and I really liked the combination of clean lines and crazy toddler paint. We’re definitely going to have to do more of this style!
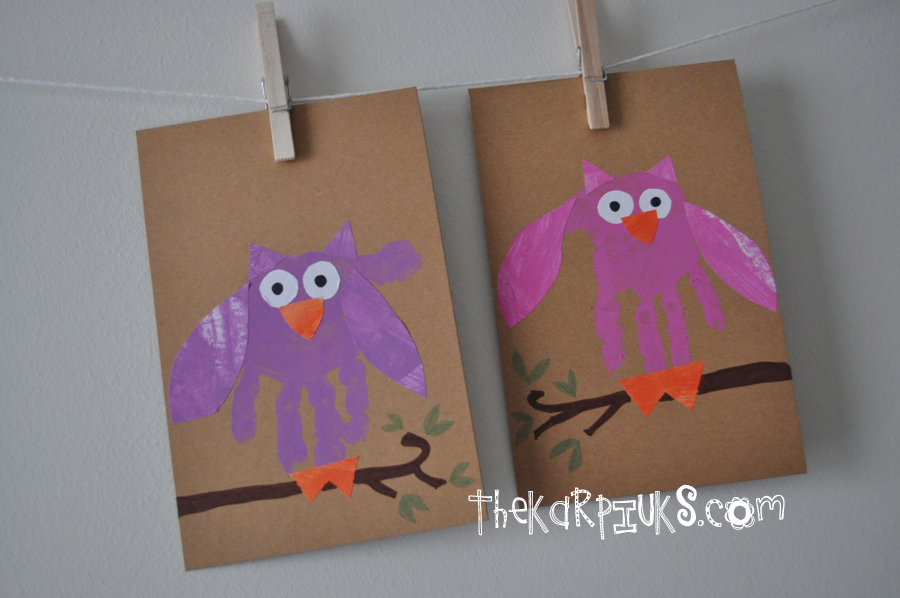 Hand Print Owls
Our most recent project were these cute hand print owl paintings. Again for, you guessed it, decorating Lila’s room. I’m not kidding when I say Liam really gets into art projects and enjoys making things for his “baby Lila.” This is another project that I’m going to do a follow up post about in a bit more depth, but the basic idea is that Liam made hand prints and we decorated them with eyes, ears, wings, a beak, and feet to make the hand prints look like owls. Liam made two, and I added the branches so that they looked like a set that we hung together in her bedroom. I kind of want to make an entire army of hand print owls now.

Whew! We sure enjoy crafting together. Liam received an easel and some watercolor paints, so I see some watercolor pictures (maybe more owls?!) in our very near future, especially since the foot of snow and subzero temperatures has extended our holiday break by at least another day. Be sure to check out the follow up posts for more details on a couple of these projects if you want to see how we did them more specifically. Those will be written up soon! I’d say with clean and organized closets and decor going up in Lila’s room that we’re almost ready for her arrival next month. Here’s hoping!
Happy crafting!
Get My Memories Suite

Use promo code STMMMS21122 to save!
Read my review here!
Check This Out!


D20 Soap On A Rope
Batman Soap Tutorial
Mahjong Tile Set

Digital Scrapping Freebies
knitty.com


Teach yourself to knit!
Get MMS V6 NOW!